Moa statue (Halo: Reach)
From Halopedia, the Halo wiki
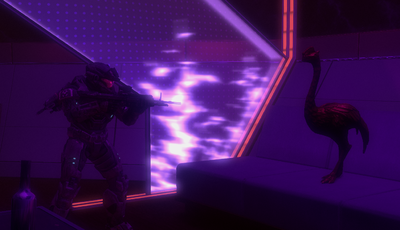
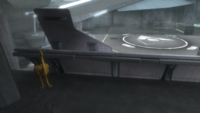
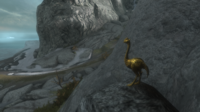
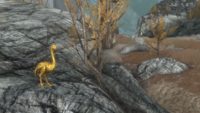
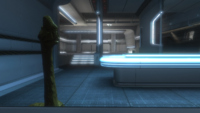
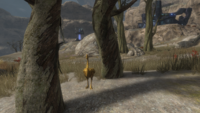
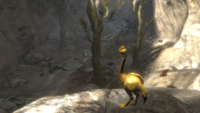
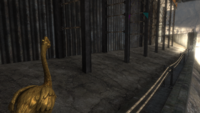
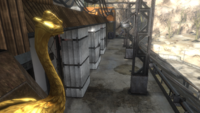
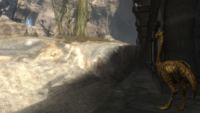
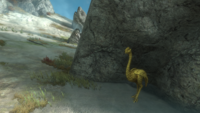
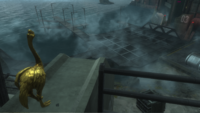
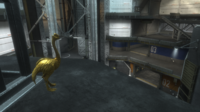
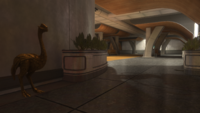
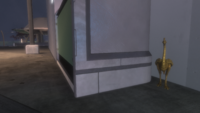
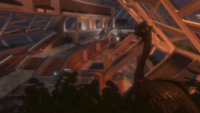
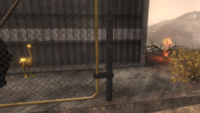
Moa statues are a collectible available in the campaign of Halo: Reach. The statues were added to Reach's campaign in the Series 9 December update for Halo: The Master Chief Collection, and is not present in the original Xbox 360 edition of the game.[1]
Overview
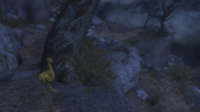
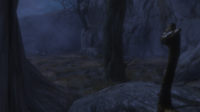
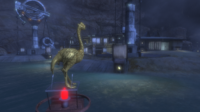
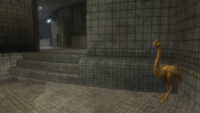
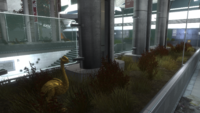
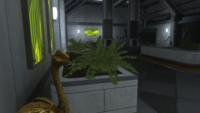
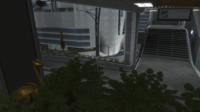
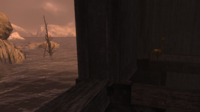
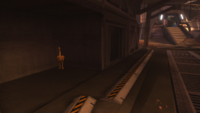
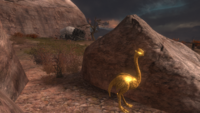
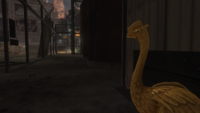
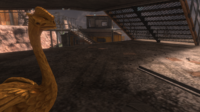
Several moa statues can be found in each level on any difficulty and take the form of a small golden Moa. Upon being discovered, the statues can be destroyed, with the weekly challenge Eye Spy requiring the destruction of three such Moa for completion. Three levels are chosen to spawn Moa within each week (observable on the challenge itself), with each level getting three statues chosen, meaning they are not all consistently placed all the time.[2] As such, this page lists all potential statue locations. Statues marked as (Broken) spawn every week and don't count towards the challenge, even when the challenge selects the level the statues are placed on.
Statue Locations
There are a grand total of 39 Moa Statues scattered across Halo: Reach.
Winter Contingency
Winter Contingency has four Moa Statues, which can be found in the following locations:
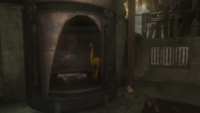
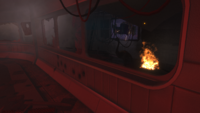
- Just before you encounter the civilians, check the fireplace in the structure you have to go in.
- When you first encounter the Covenant, head downstairs and check behind it.
- After the first encounter, head up the hill and check the structure on the left about where you fight the Elites
- After you get the truck, head down hill and keep to the right side until you reach the broken bridge. Check the second silo behind it.
ONI Sword Base
ONI: Sword Base has four Moa Statues, which can be found in the following locations:
- At the beginning of the level, take the right ramp and go right across to the end of the boardwalk.
- After destroying the Wraiths, head to the comms array to the left and check the left side of the rocks just before you get to the snowy section.
- Alternatively, head right to the AA Gun and check the rocks by the cliff.
- When you meet up with Jorge and Jun, head to the room on the right side where you find Grunts with Plasma rifle and look in the small lab.
Nightfall
Nightfall has four Moa Statues, which can be found in the following locations:
- When you assassinate the elite in the beginning of the level, stay up high to your right and check the tree to your right above you.
- When you reach the area with the Gúta, stay far right and check the rocks.
- After you reach the survivors, check the water on top of one of the buoys.
- When you get to the Covenant Stealth pylon, head to the shower in the second building downstairs.
Tip of the Spear
Tip of the Spear has five Moa Statues, which can be found in the following locations:
- When you get to the first Covenant AA Gun, check the left near the cliff next to some trees.
- After the Pelican drops the bridge off, proceed and jump off the ramp, then check the rocks at the right.
- When you destroy the Shade at the end of the bridge, go to the left underneath the boardwalk.
- After going up the stairs and encountering the elite on the plasma turret, check above the door behind you the turret is facing.
- When you get to the second AA Gun, check below the right side of the broken bridge.
Long Night of Solace
Long Night of Solace has three Moa Statues, which can be found in the following locations:
- When you storm the beach and head up the first hill where there's elites dropping from drop pods, check behind the rocks at the water.
- At the boat dock where the Spirit drops off a Wraith, check above on the balcony below the damaged wall.
- Just before you enter the Sabre, go to the left of the stairs and check on top of the structure on the far side of the room.
Exodus
Exodus has five Moa Statues, which can be found in the following locations:
- After you kill the Skirmishers, head up the stairs and check the tables to the right of it.
- When you first enter the building with the suicide grunts, check the right corner behind the bench.
- Head downstairs and when you enter the long hallway, check the cage on the right side.
- After heading outside, check above the first staircase by the small World Cuisine restaurant.
- After killing the brutes and skirmishers and head down the elevator, check to the right corner just behind the door.
New Alexandria
New Alexandria has four Moa Statues, which can be found in the following locations:
- At the New Alexandria Hospital, check the right side outside behind a vent next to a bench.
- Inside the hospital, make your way to the comm jammer and check the top left on top of some plants.
- At the SinoViet Center, check underneath the stairs just before you get on the elevator. Alternatively, you can take your Falcon and fly to that area.
- At the Vyrant Telecom Tower, head downstairs on the same floor the trapped marines are on and go in the room underneath the staircase.
The Package
The Package has four Moa Statues, which can be found in the following locations:
- At the start of the level, check inside the first building on the second floor in the corner.
- In between the two AA Cannons, check behind the small building where you would activate the AA gun in ONI Sword Base.
- When you encounter jackals in the base, check behind the ramp on the first floor where the Energy Sword would be.
- After making it upstairs and before you face the stealth elites, check in the broken glass.
The Pillar of Autumn
The Pillar of Autumn has four Moa Statues, which can be found in the following locations:
- After killing all the Covenant in the beginning of the level, check behind the building where there's Mongooses and check by the fence.
- Head down the hill and check behind a rock next to a truck near the cliff.
- After you pass through the downed Frigate and just before you go indoors, check the right of the vehicle bay through the fence.
- When you get to the landing pad section of the mission, head down the first set of stairs and check underneath them.
Lone Wolf
Lone Wolf has two Moa Statues, which can be found in the following locations:
- When the level starts, go to the far left and check around the corner of the building where the Armor lock is located.
- Also when the level starts, go straight to the Drop shield and Sniper, the go right and head downhill to the front of three tubes stacked.
Sources
- ^ Halo Waypoint, Halo: MCC December 2022 Update (Retrieved on Jan 21, 2023) [archive]
- ^ YouTube - Halo, Seasonal Sitrep: MCC Season 8, Mythic
| ||||||||
